
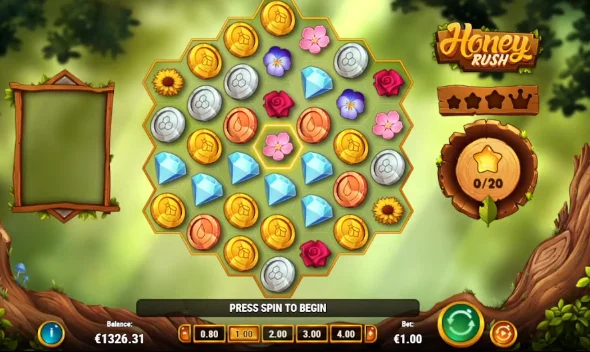
Rush Meter Charging Principle: Levels 1 to 4
The progress bar is divided into four fixed activation thresholds. Charge points correspond to the number of winning elements removed during the round.
- Level 1 (20 symbols): adds a Drone Colony trigger to the queue and places one Sticky Wild on the grid.
- Level 2 (40 symbols): activates a second Drone Colony feature and adds a second Sticky Wild.
- Level 3 (80 symbols): triggers a third Drone Colony and brings a third Sticky Wild onto the grid.
- Level 4 (160 symbols): the final stage, triggering only the Queen Colony feature.
If the counter is charged and there are no more matches on the grid, the game triggers the unlocked features one by one. The round continues as normal as long as new clusters are created.
Bee Colonies (Colony Features): Worker, Drone, and Queen
Colony features duplicate the central symbol of the grid, creating a guaranteed winning connection. The central symbol itself cannot be a wild.
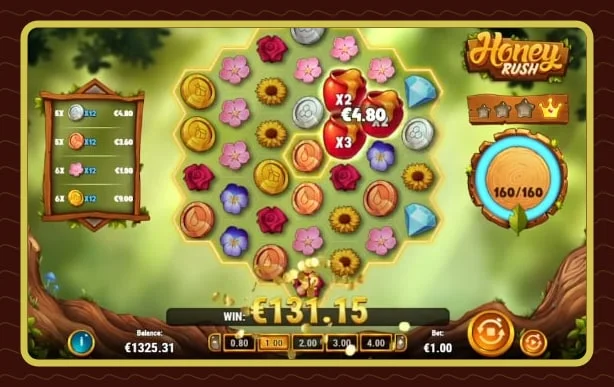
Worker Colony: Rescue on a Non-Winning Spin
Worker Colony triggers randomly and exclusively on spins without winning clusters. The modifier does not depend on the Rush Meter and does not require prior accumulation of points.
- Number of clones: forms a cluster of 7 to 15 identical symbols.
- Purpose: artificially starts a cascade sequence and provides an initial charge for the Rush Meter counter from zero.
Drone Colony vs Queen Colony: Meter Rewards
Drone Colony and Queen Colony trigger only when the required number of points is accumulated on the meter. They activate at the moment when regular cascades stop producing payouts.
| Parameter | Drone Colony | Queen Colony |
|---|---|---|
| Trigger condition | Rush Meter Levels 1, 2, and 3 | Rush Meter Level 4 (160 symbols) |
| Cluster size | Minimum of 7 identical symbols | 20 to 37 identical symbols |
| Additional bonus | Adds 1 Sticky Wild to the grid | No Wild is added |
| Grid potential | Local cascade reload | Chance to cover all 37 grid cells with one symbol |
The Role of Sticky Wilds with Multipliers in Clearing Levels
The sticky wild symbol (Sticky Wild) substitutes for any base symbols and appears only through the Rush Meter at Levels 1, 2, and 3. It always lands on the second ring of cells relative to the outer edge of the grid. No more than three such symbols can be on the grid at the same time.
Each Sticky Wild appears with a random multiplier: x1, x2, or x3. When participating in a paying cluster, the wild does not disappear but shifts to one adjacent empty position before the new wave of symbols falls.
- If two or three wilds are part of the same cluster, their coefficients are multiplied together.
- The maximum combined multiplier from three Sticky Wilds reaches x27 (3 x 3 x 3).
Summary: How to Test the Honey Rush Mechanics
Collecting 160 symbols to trigger Queen Colony in a single spin without the help of roaming wilds is mathematically unlikely. Due to high volatility, base spins often do not produce payouts, so key progress depends on multiplying multipliers up to x27 and the timely triggering of Worker Colony.

Liam Turner
Liam Turner is a gambling author specializing in slot reviews, with a particular focus on Play'n GO's Honey Rush. He studies gaming products, bonus mechanics, and user experience to turn complex details like hexagonal clusters and cascading payouts into clear reviews. His practical recommendations help readers evaluate the game and find trusted real-money casinos for a safe playing experience.